Getting Started
Prerequisites~
Needed Hardware~
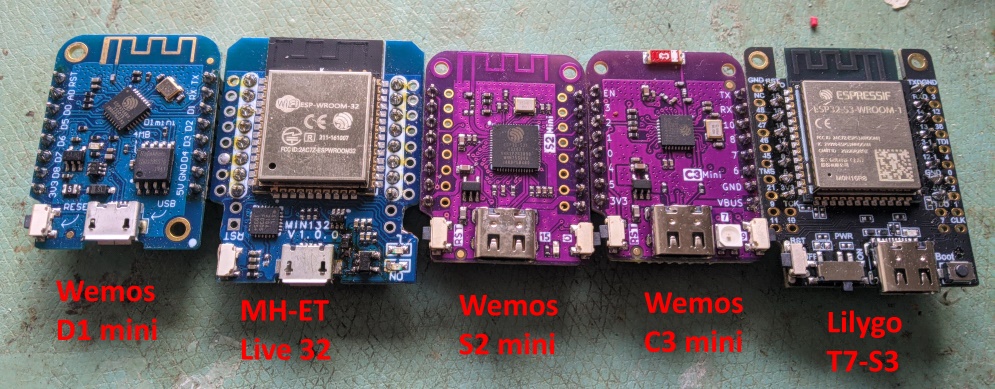
ESP32 development board~
The EMS-ESP firmware runs on an ESP32 module from Espressif. Go to the GitHub discussion here to see which ESP32 board are currently supported.
EMS Interface board~
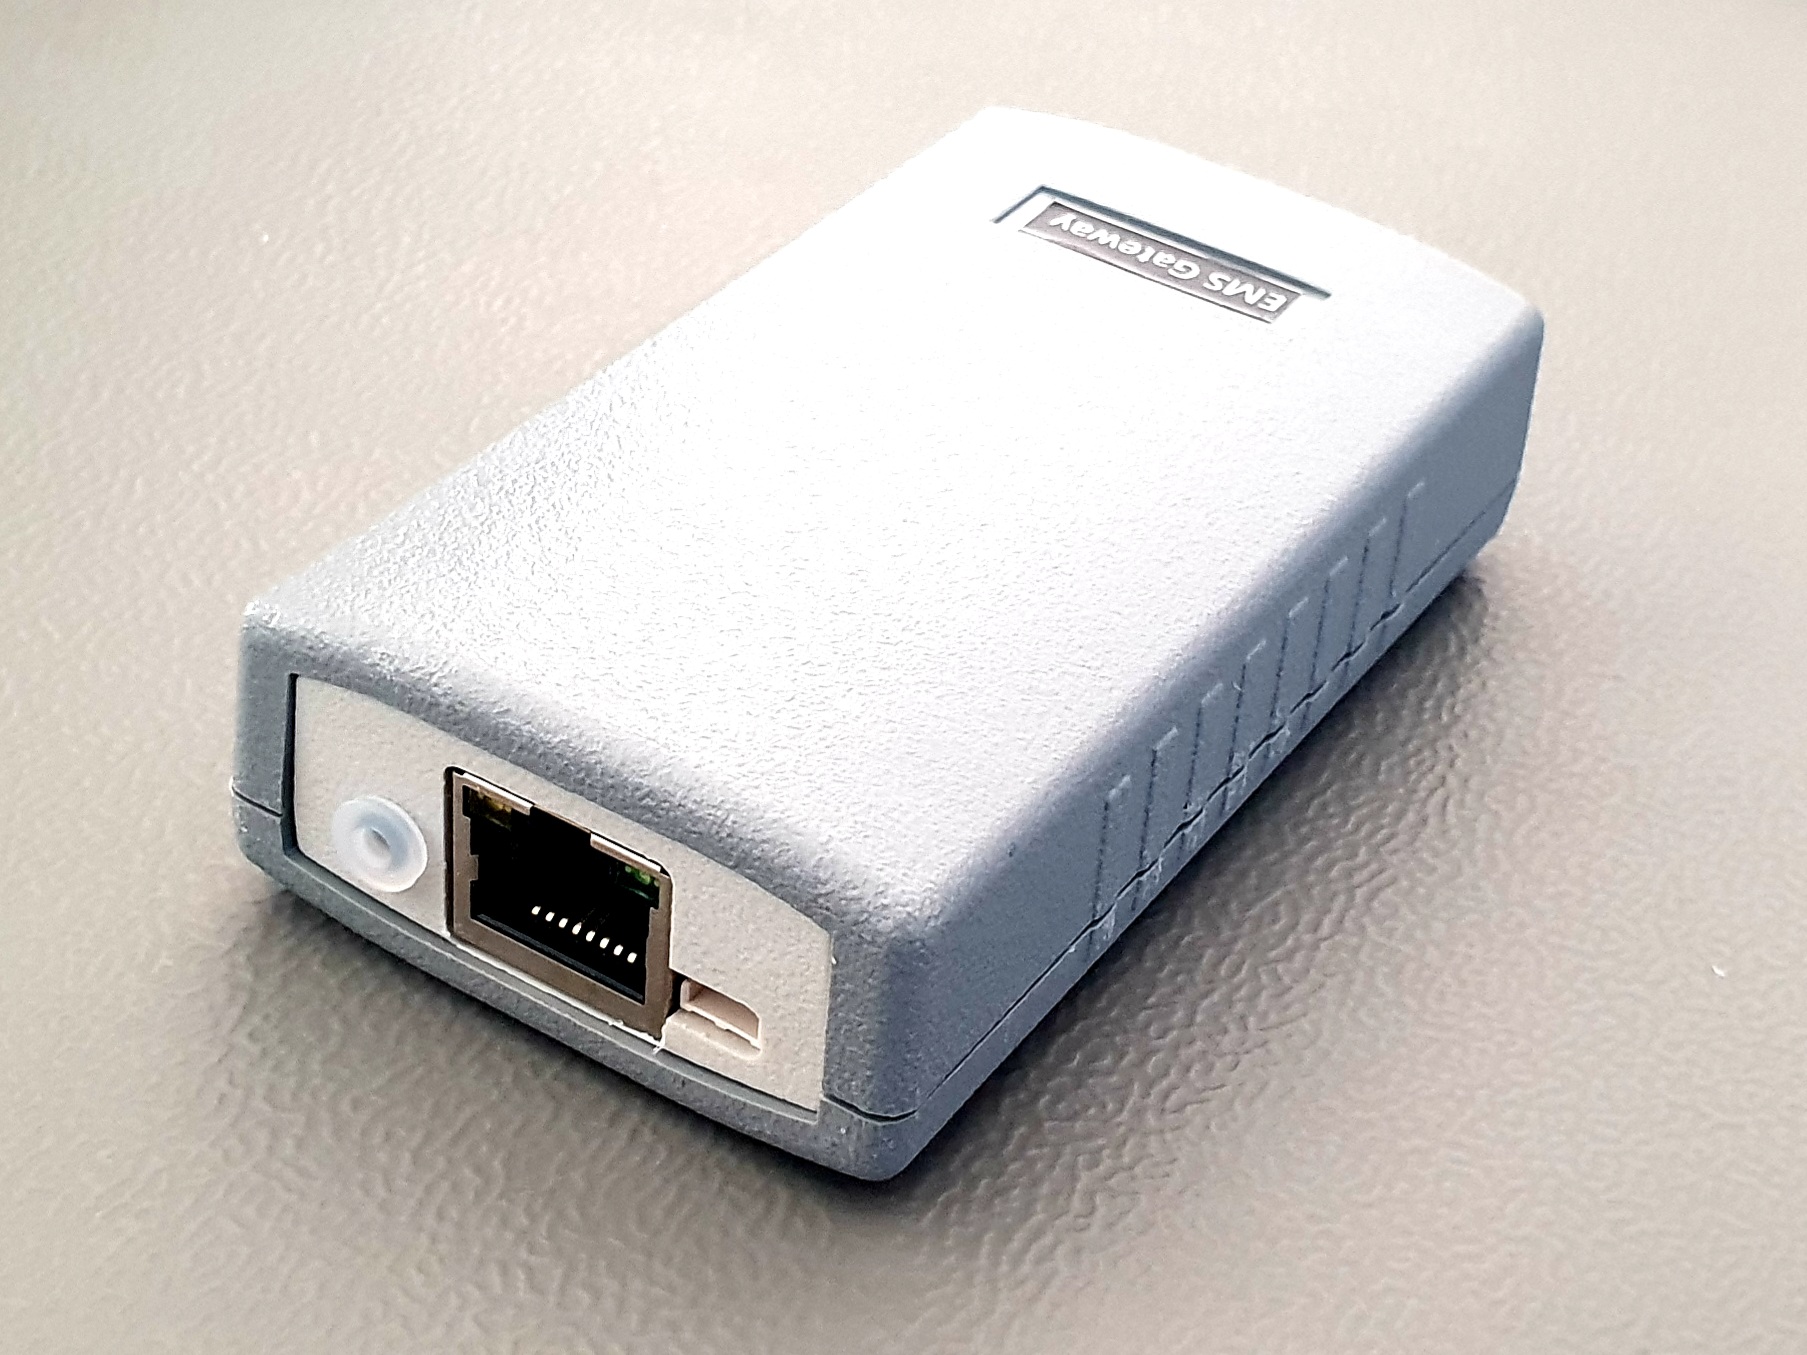 EMS-ESP also requires a separate circuit to read and write to the EMS bus. You can either build your own or purchase an interface board from BBQKees or what is highly recommended is to buy an all-in-one EMS Gateway from BBQKees that comes pre-installed and tested with the latest version of EMS-ESP.
Uploading the firmware~
The firmware is a single binary file. First decide whether you want to take the current stable version or risk it and take the latest development version to have the latest features and of course any possible bugs.
Pay attention to the Change Log before upgrading for any breaking changes
First time install~
If this is a fresh install you will need to upload it manually and there are two methods for this.
- The easiest way is to use our custom EMS-ESP Flasher tool. The are versions for Windows, Linux and Mac OSX. Note you may see a security vulnerability warning on Windows which you can safely ignore.
- Using the PlatformIO CLI like
pio run -e esp32_4M -t upload
Upgrading from a previous release~
If you are upgrading from a previous release it's recommended you perform the upgrade via the WebUI (System->Upload).
There was an issue with older BBQKees Gateway boards that used a smaller partition size on the ESP32. If you're upgrading from v3.4 or earlier and have one of these boards then make a backup of your settings and use the EMS-ESP Flasher tool.
What the onboard LED is telling you~
Info
During the power-on sequence you'll see a sequence of LED flashes:
-
1 x flash = the EMS bus is not connected
-
2 x flash = the network (wifi or ethernet) is not connected
-
3 x flash = both EMS bus and network are failing. This is a critical error!
During normal operation the LED displays the current status:
-
A steady solid light indicates a good connection and EMS data is flowing in
-
A slow pulse can mean either the WiFi or the EMS bus are not connected yet
-
A very fast pulse is when the system is booting up and configuring itself which can typically takes a few seconds